Thursday, May 3, 2012

Well haven't been here for a while.  But been busy doing more windows.   Just uploaded 44 pics.  You can go here and see how an old TN hillbilly builds them without anything too fancy :)

https://plus.google.com/u/0/photos/100847892867924761353/albums/5737772358549260577


Sunday, March 11, 2012

Making Windows

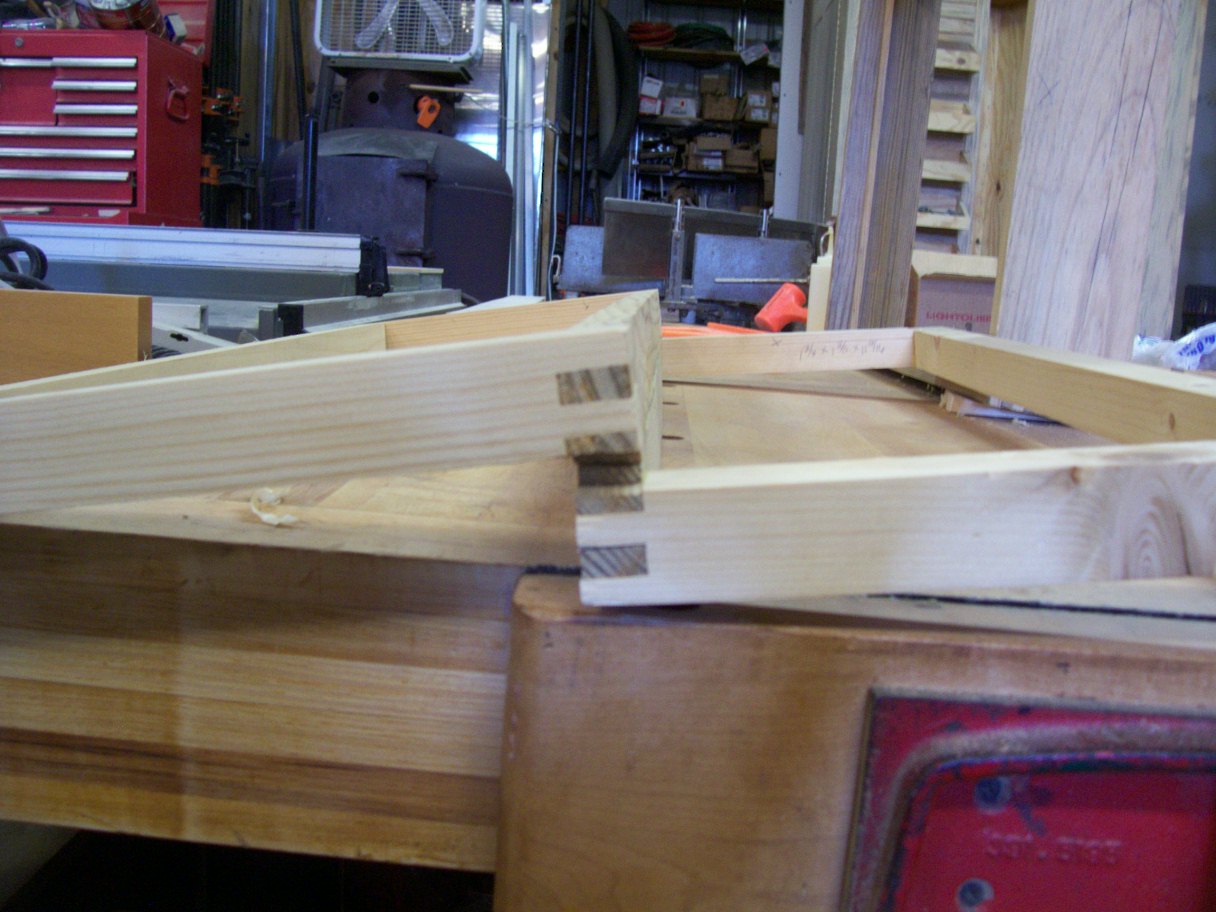
Here is a cheap and easy window build.  I'm going to be doing a bunch of windows over the next couple months.  This thing can literally be built with just a table saw and a few hand tools. Uses regular dimension lumber. In this case a 1x6 and some 2x2.  From here you can refine it into all kind of things..  Some of the experts might not think much of it, but its a place to start.  I will go a full double hung as I proceed.  These are the most environmentally friendly windows there are.  They got a bad rap because they last 50-100 years and no one does even a little maintenance on them, except slap some paint on them and all over the glass..  Your modern thermopanes are lucky to last 10-20 years and are way more expensive.  But most of us would rather pay triple than hang a storm window.  But even the storm can be left on year around nowadays since we have air conditioned homes.


Monday, January 16, 2012


The Bedroom Workshop  


Back again. My hats off to people who have their own shop, blog, twitter and sell their stuff and can keep up.  I haven’t learned yet    i would be interested in any and all comments!

Let’s talk about a “Bedroom Workshop”.  :)  
Being single and living in a three bedroom home has advantages. :)   Generally as I have lived here its gets pretty cold from mid December till about the end of March.   Heating an 1800 sq ft pole building is either expensive or you work a lot in the cold.    Last summer was thinking about this and got to thinking about the way we use to do carpenter work when I was young in the 50’s when you didn’t need your house in 90 days..  Back then we would frame in the warm weather and when cold weather came on we moved inside to trim the place out.     My idea then was to build a lot of project carcasses and then finish them up in the house when it got cold.   That meant turning an unused bedroom into a minishop. And that is exactly what I did.   I built a new workbench, sort of a hybrid, from things I have learned from my other three benches I use and the fact that “storage” was important.
I like working with hand tools but not everything.   So I dusted off the old shopsmith I used for sanding and made it and the new bench the focal for the “New bedroom Workshop” :)   And here are the pics of how it looks now.


  I got a room full of stuff to finish.  A lot of it was in the last pics I posted.   So far I love it.  Using hand tools has proved to not to make the space seemed so cramp and I have had to learn and adapt some new techniques.  But day by day I am finishing a project or two.  If I need I can sneak out to the big shop for to do something I can’t accomplish inside.  Now I just have to sell a bunch of it :)


The down side: It’s been mostly warm and in the 50’s this winter :)


Tuesday, September 20, 2011

Finally an update

Well Its been a while.   But I have been busy as the pics will show.  Unfortunately I haven't learned Blogger very well yet so I will have to do some editing yet.   At my age it takes some time :)     Reckon now days you have to publish your work and toot your own horn.     Use to be your work sold you by word of mouth.  But its a new time

All the stuff in the new pictures has been made from recycled wood,  Oak, Birch, Pine, Alder.    So while they don't have that "perfect look" to them they have a lot more character.  And that is why I like building with it. 


Tuesday, April 5, 2011

Time flies when your old

Can't believe its been over a month since I have posted anything.  But its been one of those months.  Seems like it won't quit raining.  My backyard has become the local river bed.   But I've been working and wading between house and shop.   The garden has taken up time also.  Gettin seed sown and plants started for the garden have kept me busy.  Oh yea, I got hit by the bread making bug too.   I guess I'm just to young to be this old.
  The cradle was finished and baby installed the day after they got it  :).   I have that and more pictures to get on here.   Working on  some garden stuff and storage for the garage and shop.    I'll have to keep on top of things.  More later

Saturday, February 26, 2011

Spring is coming

Well it's a new year and the storms seemed to have passed, at least for the moment. It's warming up and time for more shop time.  New this year is this blog.  Thanks to my significant other, the corporate exec of the two, I have been encouraged to join the 21st century and start this blog to write about my work of nearly 50 years. 

I've been in the business since 1963.  Starting by building corn cribs and barns.  I started building homes, millwork and furniture just a couple of years later because that was my goal.  Especially millwork and furniture.  I built both until the 90's when I started installing interiors for some of the nation's largest corporations, along with building furniture in the "off season".  A year ago I retired from installing interiors turning that over to the son and began building furniture and millwork full time.

I've called myself a woodwright since the 70's and was surprised to find that the word is not listed in most modern dictionaries.  Woodwright is an old English term for someone who works with wood. More specifically it has come to mean someone who manufactures and builds special millwork and fine furniture.  All my products are made from veneer plywoods and solid wood.  No "particle" board, flake board or composite materials are used.

When building custom furniture for clients, there are more things involved than knocking together a nice looking piece. I begin a dialogue with the client to determine the price range, style and look of the piece.   When that is determined, I make a mock up of the piece, if warranted, to give the client an idea of the finished piece.
 
I begin the construction process by selecting the proper species of wood and grains based on the client's wishes. The initial cut list involves cutting out parts to general size and gluing up panels needed and matching grains to give the best look.  Grains can be wild or mild.  After glue up it should look like one piece and give an over all flow to the eye.   The design should "flow" and not involve abrupt changes as the eye looks over the piece.   If the client so desires I will provide pictures of construction and the ability to "follow" along.

After the initial cuts and panels are made, I begin the joinery.  Cutting things to size and milling the proper joints and fit.   Sub assemblies are glued up and then I pre-sand the piece.  These "sub assemblies are then joined to make the finished project.   Many things are partially pre-finished which makes a better job and final finishing easier.  After the piece is assembled it is finished according to the client's choice.   Hardware is installed and it is ready for delivery.

As an artisan I always look froward to comments, ideas, and questions.  I welcome your commission to build a piece you will treasure and can pass down through the generations.